
The Surprising Benefits of Regrouting Your Bathroom and Floor Tiles
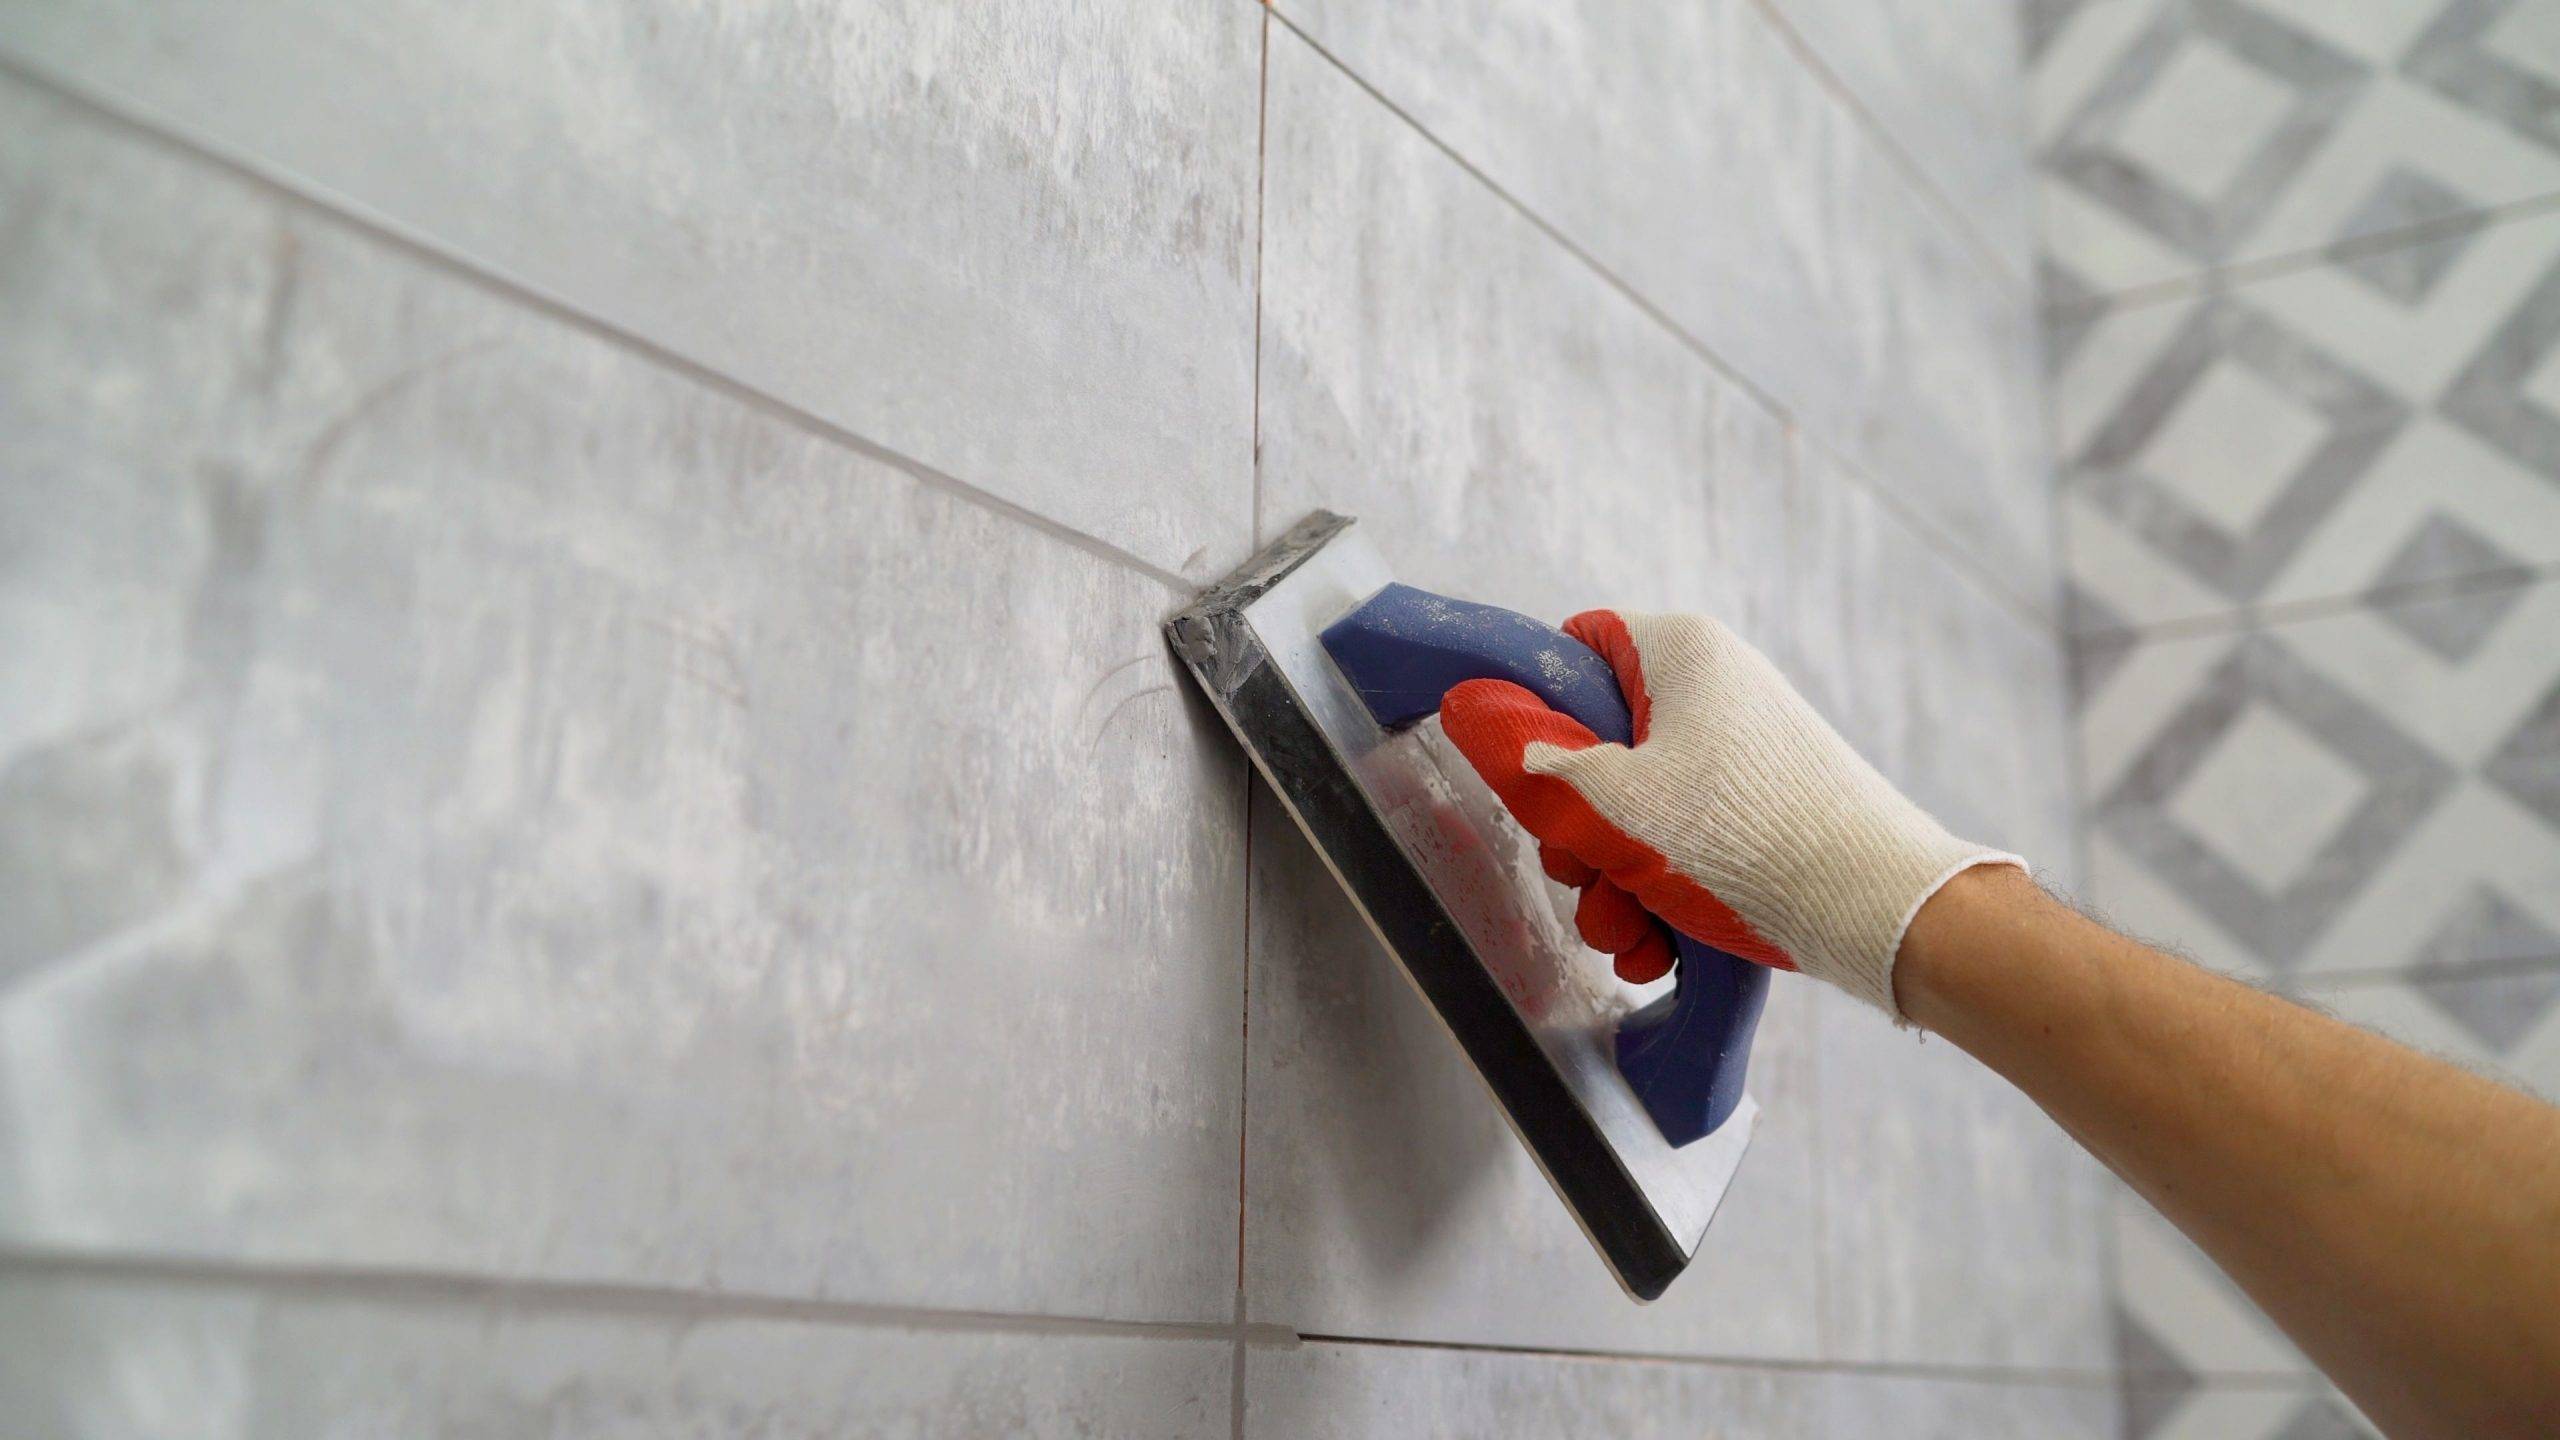
Epoxy grout is resistant to cracking, shrinking, and discolouration, making it perfect for use in wet areas
When you enter a room, one of the first things you notice is the flooring. And if there are tile floors, their condition can greatly impact the overall look. Maintaining clean and beautiful tiles goes beyond just wiping the surface – it also involves taking care of the grout.
Grout is the material used to fill the gaps between tiles, and it plays a crucial role in keeping them in place and preventing water damage. However, grout is porous and can easily absorb dirt, stains, and bacteria over time. This can make even the cleanest tiles appear dirty and dull.
In this article, we will share 10 effective tips for cleaning dirty unsealed grout. Whether you’re dealing with discolored grout lines in your bathroom or kitchen, these tips will help you restore their original color and cleanliness. We have included a range of methods suitable for different levels of cleaning intensity, from simple DIY solutions to more advanced techniques using professional-grade products.
Note: While our focus here is on grout cleaning, it’s important to mention that certain types of tiles require specific care. For those with luxurious surfaces like marble or travertine, understanding how to take care of adjacent materials is crucial. We recommend exploring professional restoration services for comprehensive care of all your stone surfaces.
Dirty unsealed grout can accumulate grime, making even the cleanest floors appear unkempt. Conversely, clean grout lines have a transformative effect, accentuating the tiles and breathing life into the space. If you have luxurious surfaces like marble or travertine, it’s essential to understand how to take care of adjacent materials as well. Professional restoration services can ensure comprehensive care for all your stone surfaces, allowing you to rediscover the timeless elegance of your floors and enhance your surroundings.
Unsealed grout is essential for both the strength and appearance of tile flooring. Unlike sealed grout, which has a protective layer, unsealed grout is porous and can absorb liquids and trap dirt particles. This property makes it prone to stains and buildup that can really ruin the look of your floors if you don’t take care of it.
Unsealed grout is made up of sand, cement, and water, creating a material that can soak up liquid and fill the spaces between tiles. When it’s new, unsealed grout looks clean and sharp. However, as time goes on, it can start to change color as it absorbs different substances.
There are a few ways that unsealed grout can get dirty:
Regular cleaning is incredibly important when it comes to unsealed grout. If you don’t stay on top of it, these tiny openings can become a breeding ground for bacteria, which not only affects how your floors look but also impacts the cleanliness of your home.
“Without consistent attention, these porous pathways can become breeding grounds for bacteria, compromising not only aesthetics but also hygiene within your home.”
It’s also worth noting that unsealed grout tends to deteriorate faster than sealed grout due to its exposed nature. This means that protecting your investment in tile flooring requires more than just regular cleaning. It may involve additional measures such as caulking or replacing old silicone to maintain the integrity of your grout lines.
For those seeking assistance with maintaining their tile’s pristine condition or tackling challenging restoration projects, exploring professional services like caulking or replacing old silicone might prove beneficial. These measures ensure long-lasting beauty for your floors.
Now that we understand why unsealed grout needs special attention, let’s move on to the next section where we’ll discuss the best way to clean it.
A well-stocked cleaning arsenal is your best weapon against dirty grout. Arm yourself with the right supplies and you’ll have sparkling, clean grout in no time. Here’s what you’ll need:
Now let’s discuss how to use these supplies effectively.
Create a paste with baking soda and a little water. Apply this paste to the grout and leave it for 10 minutes. Then, spray vinegar onto the baking soda paste; it will react with the soda, helping to break down stains. Scrub with a brush and rinse with water.
Mix equal amounts of ammonia and water. Spray this solution onto the grout, let it sit for several minutes, then scrub vigorously. Rinse thoroughly afterward.
For stubborn stains or discoloration caused by mold or mildew, using bleach may be necessary. Always dilute bleach with water before applying to avoid damaging your tiles.
After rinsing the grout, you can use a wet vacuum to quickly remove excess water. This step is crucial in preventing mold and mildew growth, especially in damp areas like bathrooms.
Remember, safety first! Always wear gloves and use these supplies in a well-ventilated area. And be careful not to mix ammonia and bleach – their combination creates a dangerous gas.
For those looking for professional assistance in maintaining the shine of their tiles and grout, there are services like Granite Polishing & Restoration – Urban stone restoration that can do wonders. Discover the art of granite transformation with their professional polishing and restoration services. Their gallery showcases stunning before and after photos, highlighting the brilliance and durability they bring back to your granite surfaces. Experience the pinnacle of craftsmanship and care in every project.
If you need expert patio cleaning service in Sydney, then Sydney’s Premier Patio & pool deck tiles Cleaning Service is just what you’re looking for. They specialize in revitalizing outdoor spaces, bringing a fresh shine to your outdoor haven. Experience professional outdoor tile cleaning for a pristine and inviting patio.
The right tools and some elbow grease can transform your grout from grimy to great. So gather your cleaning supplies and get ready to tackle that dirty grout!
Before you start deep cleaning your grout, it’s important to prepare the surface properly. This step is often overlooked but plays a crucial role in ensuring that your grout is thoroughly cleaned and that no residual dirt or dust gets in the way.
The first step is to sweep away loose dirt from your tile floors. Use a broom or a vacuum cleaner to remove all visible dust, hair, and crumbs. Pay special attention to the corners and edges of your rooms as these areas are often neglected during regular cleaning and can accumulate significant amounts of dirt.
Once you’ve swept or vacuumed your floors, it’s time to mop. Here’s how you can do it effectively:
The dish soap acts as a gentle yet effective degreaser that lifts off any oily residue from your tiles and grout lines.
After mopping, allow your floors to dry completely before moving on to deep cleaning your grout. This can take some time depending on factors like the size of your tiled area and the humidity levels in your home.
By preparing your unsealed grout correctly for deep cleaning, you’ll ensure that all subsequent steps are more effective in restoring its original appearance. It’s also worth noting that routine sweeping and mopping go a long way in maintaining clean grout lines in between deep cleaning sessions.
If you have terrazzo floors, it’s worth considering professional terrazzo polishing and restoration services in Sydney. These specialized services can revitalize your space by unlocking the beauty of terrazzo and transforming your floors to their original luster. Whether you need terrazzo floor restoration or polishing, experts can help you achieve remarkable results.
When deep cleaning your grout, it’s important to consider whether you need regrouting with cement grout or epoxy grout. Cement grout is a traditional option that provides durability and ease of installation. On the other hand, epoxy grout offers superior stain resistance and is ideal for spaces prone to moisture such as bathrooms and kitchens. Understanding the differences between these two options will help you make an informed decision when it comes to regrouting your tiles.
Dirty unsealed grout can be a challenge, but with the right approach, it’s possible to restore its appearance. One popular method involves using a baking soda and vinegar solution, both of which you likely already have in your home.
Be careful not to use too much vinegar as it is acidic and can damage sensitive tiles if left on for too long.
For tougher stains that baking soda and vinegar can’t handle, an ammonia solution can be effective.
Ammonia is a strong chemical that requires proper ventilation and protective gloves during use.
When other methods fail, diluted bleach can serve as a last resort due to its powerful disinfecting properties.
Always wear gloves and eye protection when handling bleach, and ensure the room is well ventilated.
For those seeking professional-grade results without extensive effort, steam extraction cleaning stands out as an efficient alternative that can tackle even deeply embedded dirt without harsh chemicals.
If you’re inspired by these DIY methods but also curious about elevating your space with professional care, consider exploring services like concrete floor polishing or marble benchtop restoration. These services not only clean
After trying out different ways to clean unsealed grout on your own, you might feel overwhelmed, especially when dealing with tough stains and dirt. In such cases, it’s worth considering hiring professionals for tile cleaning services.
Professional cleaning services often use a technique called steam extraction cleaning. This method involves using high-pressure hot water vapor that can reach deep into the tiny spaces of the grout. It effectively breaks down and removes stubborn dirt, bacteria, and mold. Afterward, a powerful vacuum is used to extract the dirty water mixture, leaving your grout looking clean and revitalized.
Highlight: Steam extraction cleaning works well for unsealed grout because it can reach areas that are difficult for brushes or sponges to access.
Benefits of Opting for Professional Help
It’s important to note that while professional tile cleaning services may be more expensive than DIY methods, the results often justify the investment.
The next section will discuss the importance of sealing your newly cleaned unsealed grout as an additional step in preserving the appearance of your tile floors over time.
Sealing grout is an essential step to maintain your tile floors’ pristine appearance. Unsealed grout, due to its porous nature, can harbor dirt and grime, leading to stubborn stains. After a thorough cleaning, sealing your grout can prevent this issue.
Before you start sealing, it’s crucial to adequately prepare the grout. Here’s where muriatic acid comes in handy.
To start with, ensure that the grout is clean and dry. Then, mix one part muriatic acid with ten parts water in a plastic bucket. Always remember to add acid to water and not the other way around for safety reasons.
Using a scrub brush, apply this solution to the grout lines. Always wear appropriate protective gear like gloves and goggles as muriatic acid is a strong chemical.
Allow the solution to sit for about 10-15 minutes before rinsing thoroughly with water. The acid cleans the pores of the grout and prepares it for sealing.
Now that the grout is ready let’s move on to the actual process of sealing:
There are various types of sealants available in the market – choose one that suits your needs best.
Apply the sealant using a small brush or applicator bottle along each grout line.
Let it dry according to the manufacturer’s instructions – usually between 24-48 hours.
Once dry, any excess sealant on the tiles should be wiped off using a clean cloth.
It’s important to note that sealing isn’t a one-time task but needs repeated sealing every year or two, depending on the wear and tear. Regular maintenance ensures the sealant’s effectiveness in keeping your grout clean and stain-free.
The process of sealing may seem like a lot of work, but remember – it’s a small price to pay for beautiful tile floors. Your tiles will not only look professionally cleaned but also be easier to maintain in the long run.
Moisture removal from grout is not just a cleaning detail, it’s the defining factor between a mildew-infested tile and a clean, pleasant-looking one. The porous nature of unsealed grout makes it susceptible to water absorption, leading to potentially damaging mold and mildew growth. With that said, a key component of maintaining clean grout is managing moisture effectively.
To prevent the accumulation of moisture:
Just as moisture removal is essential for preventing mold and mildew, so too is regular maintenance crucial for keeping your grout at its best. This doesn’t necessarily mean you have to engage in intensive cleaning every other day.
For maintaining clean grout:
Caring for your tile floors is more than just an aesthetic endeavor; it’s about preserving their longevity and maintaining a healthy environment in your home. With consistent moisture management and regular maintenance, you can ensure that your grout remains clean and your tiles continue to shine.
Having clean grout can dramatically enhance the overall look of your tile floors. This seemingly minor detail can make a significant difference, transforming dull and aged-looking tiles into a fresh and renewed surface. Remember, adopting a regular cleaning routine is crucial to maintain the pristine condition of your grout.
The techniques and tips discussed in this article aim to equip you with the knowledge needed to tackle grout cleaning effectively:
Each method has its own merits, and it’s essential to choose what suits your needs best. Whether it’s a DIY approach or getting professional help, the goal is the same: achieving clean, visually appealing grout lines that enhance your tile floors.
Feel free to experiment with these methods, find what works best for you, and share your experiences. Remember, every home’s grout situation is unique – so don’t despair if one method doesn’t yield immediate results. Keep trying different techniques until you find the one that gives you the clean grout you desire.
Always remember: maintaining clean grout is not just about aesthetic appeal — it also contributes to a healthier living environment by reducing mold and mildew growth. So roll up those sleeves and start transforming your tile floors today!
vhhvh
Clean grout is essential for maintaining the overall appearance of tile floors. Dirty and unsealed grout can make the entire floor look unkempt and unhygienic.
Unsealed grout is porous in nature, which makes it susceptible to absorbing dirt, stains, and moisture over time.
The necessary cleaning supplies and tools include baking soda, vinegar, ammonia, bleach, a bucket, brush, sponge, water, and a wet vacuum. Each item has its specific use in the grout cleaning process.
Preparing the grout surface by sweeping away loose dirt and mopping with mild dish soap and warm water is crucial to ensure that the deep cleaning process is effective. It helps in removing surface-level dirt and grime before applying more intensive cleaning methods.
Some DIY methods to clean unsealed grout include using a baking soda and vinegar solution, an ammonia solution for stubborn stains, and bleach as a last resort. Each method comes with step-by-step instructions and precautions to ensure safe and effective cleaning.
Sealing unsealed grout after cleaning is important as it helps in protecting the grout from future dirt, stains, and moisture absorption. The process involves using muriatic acid solution to clean and prepare the grout before applying a grout sealant.
Moisture removal is crucial for preventing mold and mildew growth in grout. Additionally, regular maintenance is essential to keep the grout looking its best over time.
Epoxy grout is resistant to cracking, shrinking, and discolouration, making it perfect for use in wet areas

Epoxy grout is resistant to cracking, shrinking, and discolouration, making it perfect for use in wet areas

Epoxy grout is resistant to cracking, shrinking, and discolouration, making it perfect for use in wet areas